Your DIY Patio, Delivered.
Transform your backyard with ease using Patio on a Pallet — a ready-to-install patio kit designed for homeowners who want professional results without the hassle. Each pallet includes 66 walkable stones in a balanced mix of four distinct shapes, giving you the freedom to create a custom layout that’s as unique as your space.


Product Overview
Transform your backyard with ease using Patio on a Pallet — a ready-to-install patio kit designed for homeowners who want professional results without the hassle. Each pallet includes 66 walkable stones in a balanced mix of four distinct shapes, giving you the freedom to create a custom layout that’s as unique as your space.
Whether you're building a patio, walkway, or garden path, this all-in-one kit makes the process simple and satisfying. Just open the pallet, lay the stones, and enjoy your new outdoor living space.
What’s Included:
- 66 durable patio stones
- A balanced mix of 4 different stone styles
- Convenient pallet delivery for easy transport and storage
Why You’ll Love It:
- DIY-friendly — no cutting or special tools required
- Versatile layout options with natural variation
- Built to last — weather-resistant and low-maintenance
- Perfect for patios, walkways, firepit areas, and more
Patio on a Pallet brings simplicity, style, and satisfaction to your backyard project.
Install Our Pavers in Just Four Simple Steps
Here’s a simple guide to laying one of our paver systems:

Step 1: Ground Preparation
- Clear the area of debris, rocks, or vegetation.
- Level the surface and ensure a slight slope for water drainage.
- Compact the base layer with a tamper for stability.
- Double-check the leveling before moving to the next step.

Step 2: Laying the Mats
- Begin at a chosen origin point, preferably on the outer edge of your project working from one side to the other.
- If you are building with a preexisting structure, begin from its edge.
- Decide on your laying pattern. This can vary based on the mat type and the project’s aesthetic.
- Lay mats from the starting point outward, maintaining consistent spacing for uniform grout lines.

Step 3: Snipping the Mats
- If your design requires mats to fit specific shapes or sizes, use snippers to cut the mats to your desired dimensions.
- Mats can be cut, allowing it to adapt to your design. This step is crucial for fitting mats around corners, curves or obstacles in your landscaping project.
- Before cutting, measure and mark the areas on the mat where adjustments are needed to ensure accuracy and minimal waste.

Step 4: Filling the Joints
- Follow specific manufacturing directions if using polymeric sand or our Eco Grout
- Choose a filling medium. We recommend polymeric sand or Ecosystems for optimal bonding between the mats, although any natural joint fill will work.
- Application is easy — just sweep the chosen medium into the joints.
- Wet the area to assist in compaction.
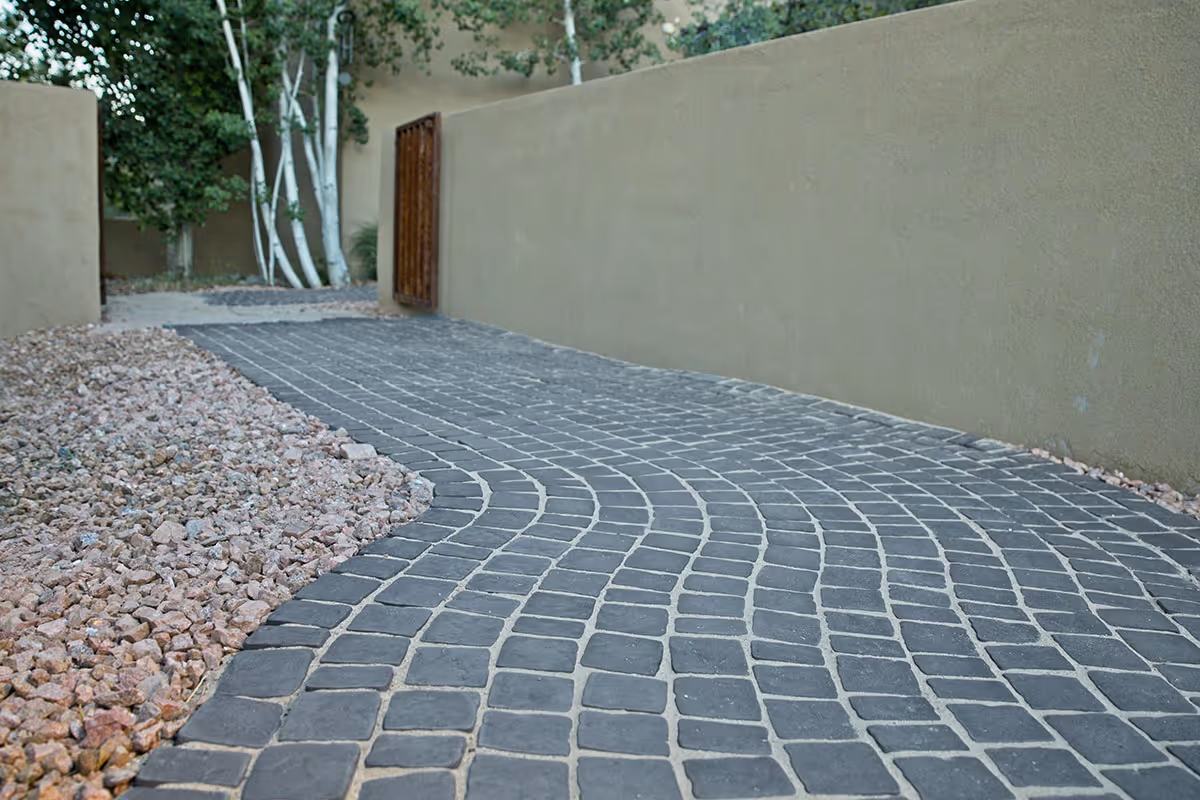
Project Showcase
Explore our stunning completed projects for inspiration.
.avif)
.avif)
.avif)
.avif)
.avif)


.avif)
.avif)
Project Showcase
Explore our stunning completed projects for inspiration.


Project Showcase
Explore our stunning completed projects for inspiration.


-(5).avif)


