Elevated Hardscaping, Simplified
Crafted to admire, designed to endure.
Discover intentionally engineered paver systems.


Why Terrafortis?
Here at Terrafortis, we aim for four things:
innovative design, sustainable craftsmanship, easy installation and versatility.
Innovative Design
Create beautiful, practical spaces with modular artisan mats that can be snipped and curved.
Versatility
Our mats are perfect for pathways, driveways, walkways and much more.

Easy Installation
These stunning mats are installed in four simple steps.
Sustainable Craftsmanship
Designed to be functional and permeable for improved water management.
What Our Customers Say
Ready To Get Started?
We’ll help you get everything you need for your next paver project.

Project Showcase
Explore our stunning completed projects for inspiration.

.avif)


-(1).avif)
Quick Installation Guide
Install Our Pavers in Just Four Simple Steps
Here’s a simple guide to laying one of our paver systems:

Step 1: Ground Preparation
- Clear the area of debris, rocks, or vegetation.
- Level the surface and ensure a slight slope for water drainage.
- Compact the base layer with a tamper for stability.
- Double-check the leveling before moving to the next step.

Step 2: Laying the Mats
- Begin at a chosen origin point, preferably on the outer edge of your project working from one side to the other.
- If you are building with a preexisting structure, begin from its edge.
- Decide on your laying pattern. This can vary based on the mat type and the project’s aesthetic.
- Lay mats from the starting point outward, maintaining consistent spacing for uniform grout lines.

Step 3: Snipping the Mats
- If your design requires mats to fit specific shapes or sizes, use snippers to cut the mats to your desired dimensions.
- Mats can be cut, allowing it to adapt to your design. This step is crucial for fitting mats around corners, curves or obstacles in your landscaping project.
- Before cutting, measure and mark the areas on the mat where adjustments are needed to ensure accuracy and minimal waste.

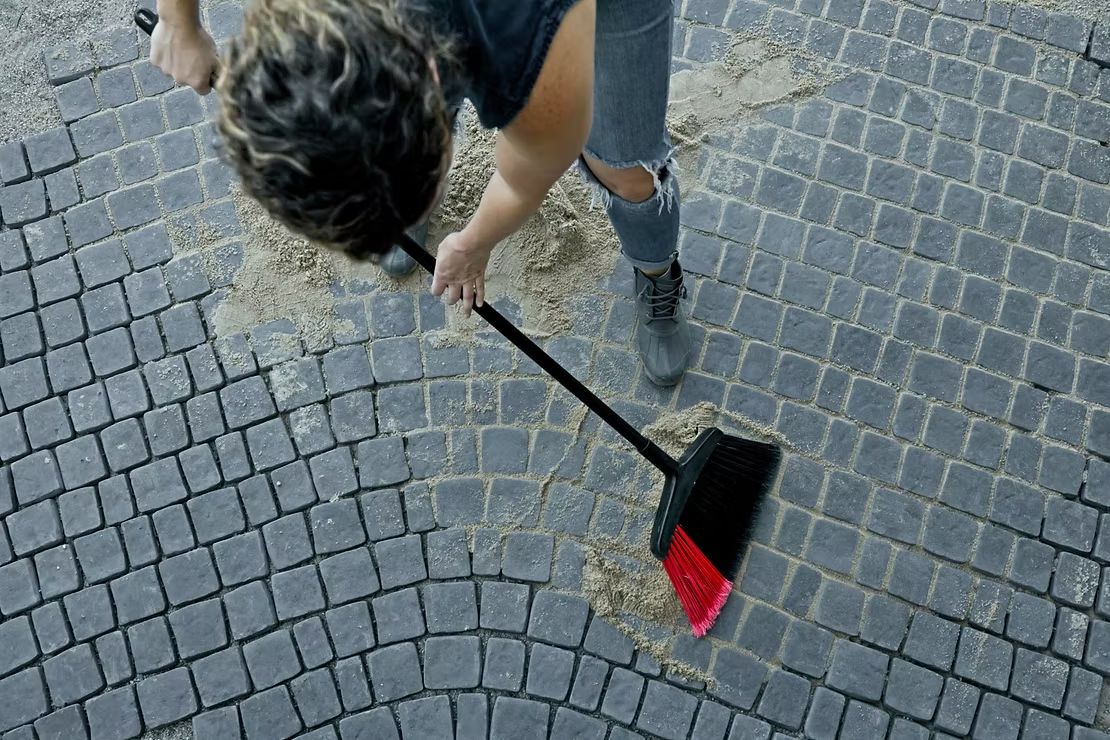
Step 4: Filling the Joints
- Follow specific manufacturing directions if using polymeric sand or our Eco Grout
- Choose a filling medium. We recommend polymeric sand or Ecosystems for optimal bonding between the mats, although any natural joint fill will work.
- Application is easy — just sweep the chosen medium into the joints.
- Wet the area to assist in compaction.
Create A Natural Looking Paver
We’ll help you get everything you need for your next paver project.
